Keg River Microbrewery All-Grain RIMS System – Walkthrough

I was considering all-grain brewing system, but did not want the “Big Foot Print” of a modified beer keg system, heated with propane. Tried the “Big Pot” electrical system BIAB, didn’t like it – still messy.
The need was for a “small foot print”. I’d been looking at the Grainfather, Speidel Braumeister, the Zymatic Picobrew, and some other all-in-one systems.
I came to the conclusion that what I wanted was:
• Relative ease of use
• Small foot print – store in a closet
• An “all-in-one” system
• As few points of failure as possible
• Brew 23 Liters (6 US gallons) all-grain batches of beer
• Use of electric heating rather than gas, to allow indoor brewing year-round
Keg River Microbrewery met these requirements quite well, at a cost of $995.00 with the microbrewery, hop basket and stainless steel wort chiller. Other products I’d been looking at had more bells and whistles, but some were priced at least twice that. I spent my first few days getting to know it, and not actually brewing anything. I made sure there were no leaks from my assembly of the device, made sure the pump worked, made sure the heating element worked, etc. I also tested heating and boiling times to get some idea of how long it would take to brew a batch of beer with The Keg River Microbrewery. For the rest of this review, I’ll walk you through the process and share my observations and experiences as I go.
Preparing to Brew
Being made of stainless steel, Keg River Microbrewery probably arrives at your door with a residue of oils and chemicals used during its manufacture. The instruction manual provided with the device, instructs you to run a cleaning cycle through it before you actually brew with it. This is sound advice. I’ve read stories of people upset that their first couple of batches made with unit (and other stainless equipment) have tasted like they were laced with industrial chemicals or machine oil. I actually ran two cleaning cycles through mine and rinsed it repeatedly before using. When the rinse water coming out of Keg River Microbrewery tasted like clean tap water, I decided it was ready to use.
Cleaning Keg River Microbrewery while testing for leaks
The Keg River Microbrewery’s cleaning process is relatively easy. Put two or three gallons of water into it and follow the directions on a container of PBW (Powdered Brewer’s Wash) to add the right amount into it. Then, wipe down the sides of the unit with the PBW solution and a soft cloth that won’t scratch the steel. Plug in The Keg River Microbrewery, set the temperature for 55°C (131°F), and turn on the recirculation pump with the recirculation arm attached. Run PBW through the pump and arm for a while. After 20-30 minutes, use the ball valve and a length of hose drain the PBW out. Dump any remaining PBW and rinse the inside of Keg River Microbrewery well. Then fill Keg River Microbrewery with clean water and run that through the pump and recirculating arm again.
Mashing and Sparging with the Keg River Microbrewery
With Keg River Microbrewery clean and ready to use, it’s time to begin brewing. You start by identifying your recipe, gathering and weighing your ingredients as you normally would. When the recipe tells you how much water to use for mashing and sparging, you ignore that. Instead, you follow a calculator on the Keg River Microbrewery (link) website to calculate the correct volume of mash and sparge water based on the amount of grain your recipe requires.
You have two options for sparge water. (This sounds like I’m jumping ahead, but bear with me.) You will either use Keg River Microbrewery to heat the necessary quantity of water to boiling, then pump it into a heat-resistant vessel to wait while you mash, or you will heat water in some other vessel while mashing. Using Keg River Microbrewery to heat the sparge water will take longer, as you’ll need to heat the water, set it aside, and then heat more water in it to get the quantity needed for mashing. However, using Keg River Microbrewery to heat the sparge water means that you don’t need some other heat source.

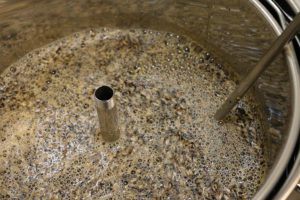
Once your sparge water option is chosen and the sparge water is taken care of, it’s time to mash. You do this by adding the amount of water Keg River Microbrewery requires based on the grain bill. Then you lower the grain malt pipe into the boiler. Pour in the grain, stirring to make sure it all gets wet. Put the perforated lid on top of the grain but not compressing it. Now, you set the temperature on the controller, switch on the pump, and wait while Keg River Microbrewery gets the mash water to the appropriate temperature. When the appropriate temperature is reached, the timer will start the count down for the mash time specified in the beer recipe. The Keg River Microbrewery’s electronic controller will keep the mash within a degree or two of the desired temperature. You can do step-mashing by changing the setting on the controller at appropriate times.
Beginning the mash with The Keg River Microbrewery

Heat up the water to 66-68°C (150°F – 155°F), then add the grain into grain malt pipe and stir it gently. I find that it tends to take about 30 minutes to get the mash water to my desired temperature. Once there, Keg River Microbrewery will tend to keep it very close to the temperature you’ve set. For example, if you set it to 68°C(155°F), you’ll see it between 67°C – 69°C (153°F and 156°F) pretty much constantly. If you do the occasional extract batch, Keg River Microbrewery is an excellent way to keep the temperature under control during steeping as well.
When you’re finished mashing, insert the handle into the grain malt pipe and carefully lift it out of the boiler. Once it’s out, turn it until the clips on the bottom line up with the metal rods in the top of the boiler. Set the malt pipe down and it will remain on top of the boiler. With a large grain bill, the malt pipe can be pretty heavy to lift, but the unit has a half way rest for draining the wort.
Taking the sparge water heated earlier, you’ll sparge the grain with the amount of water specified in The Keg River Microbrewery’s formula. For a 19 Litres (five-US gallon batch of beer) leave you with about 6.4 gallons in the boiler. This will account for boil-off and the fact that you will want to leave behind the trub (1.6 litres) in the bottom of the boiler when you’re finished boiling. Once I’ve lifted the malt pipe out and set it on the top ring, I will set the program to boiling so that the kettle can heat while I sparge. This will reduce the total brewing time a little.
After sparging, you remove the grain malt pipe. Discard the grain, we are lucky to have the organic waste program here in the city. I recommend doing this and cleaning the malt pipe with PBW and fresh water while the wort boils, as it will save some elapsed time for the total brewing process. Since you’ll be waiting for the boil anyway, you might as well get the cleaning out of the way.
Boiling

The Keg River Microbrewery’s heating element raises the temperature inside the kettle by 1 to 2°C every minute with a 19L – 23L (5-6 US gallon) volume. Assuming you finish your mash near 74°C (165°F), you’ll need to raise the kettle contents to 212°F ( 100°C). This takes about 45 minutes in my experience so far. You can shorten this time, as I noted earlier, by switching the unit to boil mode while sparging. By the time you finish the sparge, the kettle will probably be at 80°C (180°F) or so. This will shorten the boil time to about 30 minutes.
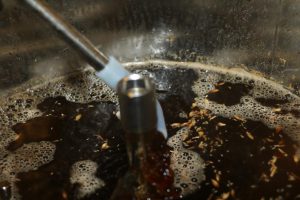
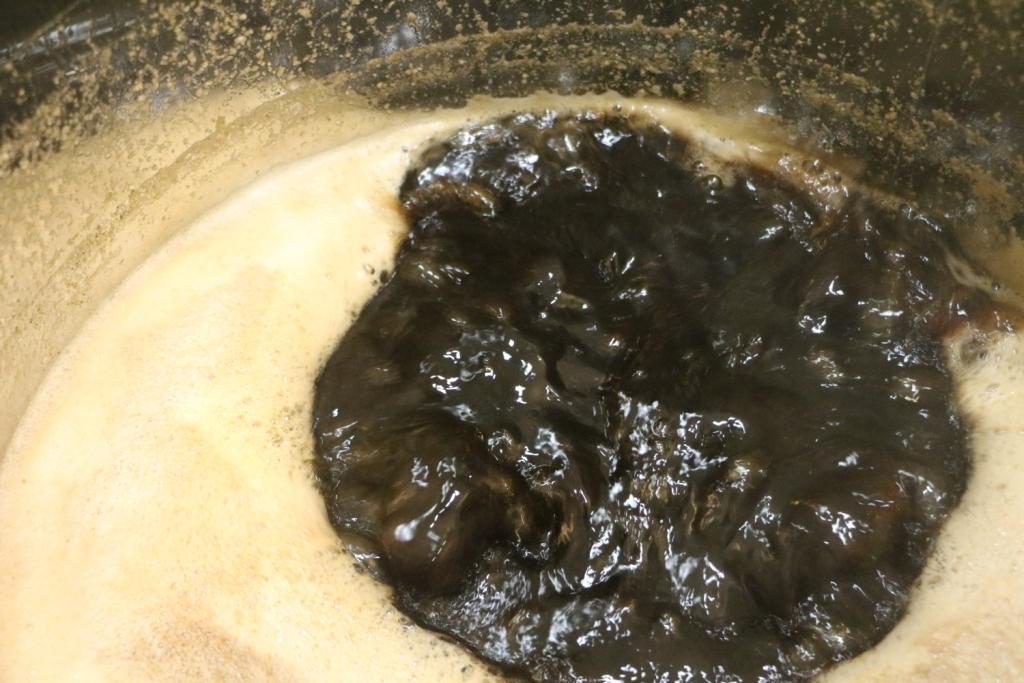
Once Keg River Microbrewery gets to a boil, you can begin adding hops and other ingredients. Keg River Microbrewery does reach a rolling boil. Depending on heating systems you’ve used in the past, it may be a much less “rolling” boil than you’re used to. Propane pot for example, can boil wort so hard it jumps out of the kettle.
I added hops pellets into the Stainless Steel Hop Spider Strainer that comes with the Keg River Microbrewery during the boil. This seemed to work well and kept hops gunk out of the kettle. About ten minutes before the end of the boil, you hook up the stainless steel wort chiller provided with Keg River Microbrewery. Attach the cold water supply to the wort chiller and place the hot-water-out line into a drain. It takes 15- 35 minutes for the immersion chiller to reach 24°C ( 73°F) . Drain the wort into the fermenter, which was within the range my yeast could safely tolerate, so I pitched it. I placed the airlock on my fermenter. Keg River Microbrewery seems to be a well-made, good quality device with solid safety features. It does a great job mashing the grain. After an hour, an iodine test came up clear. The wort chiller brought my wort instantly from boiling hot to near-yeast-pitching temperature, which should help with clarity and chill haze in the finished product. Cleanup is relatively easy.

